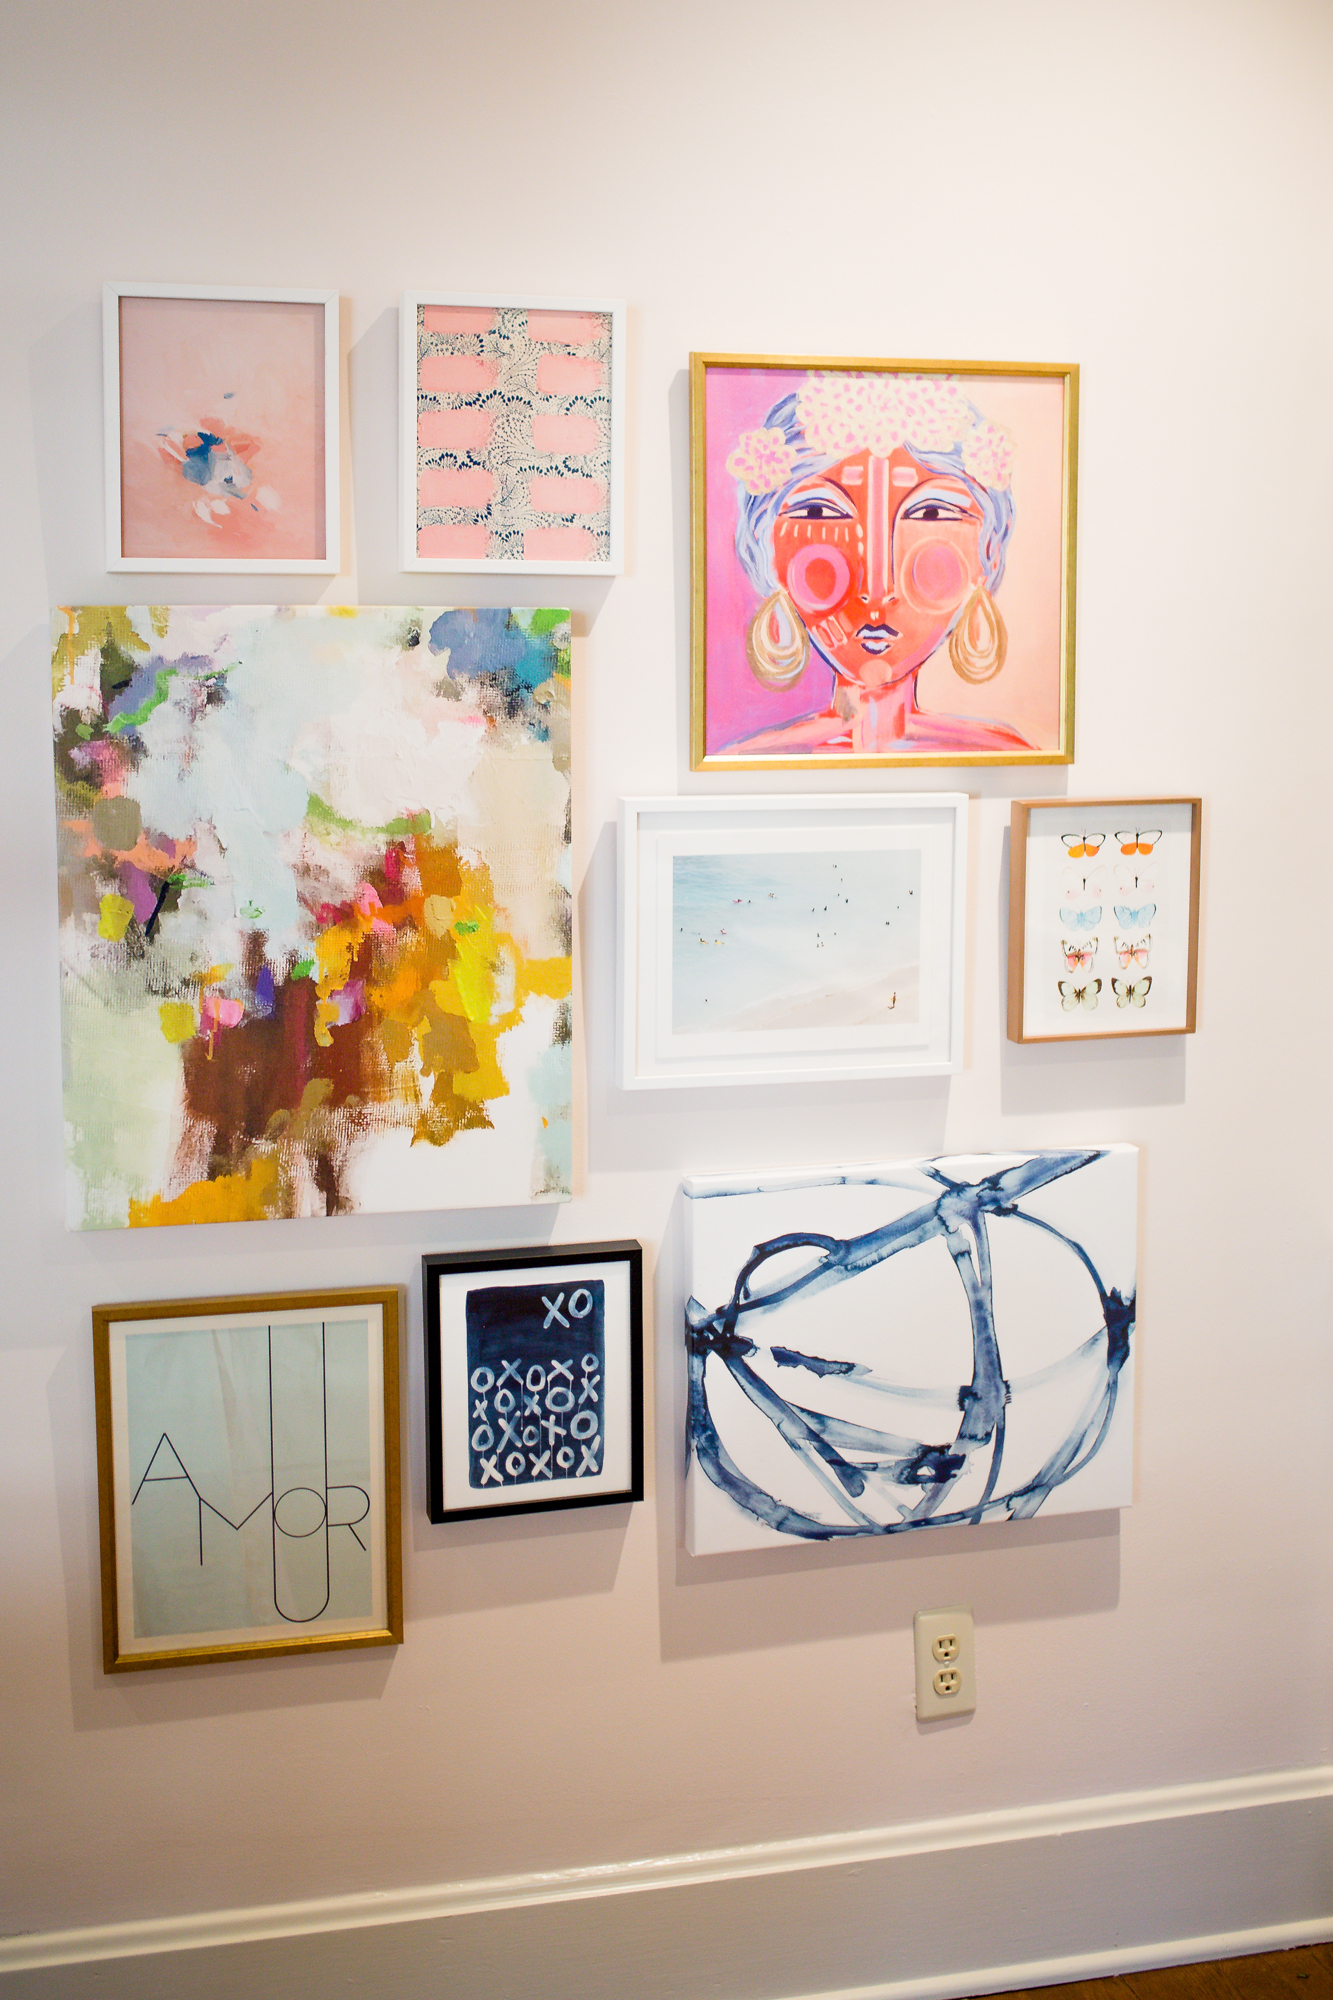
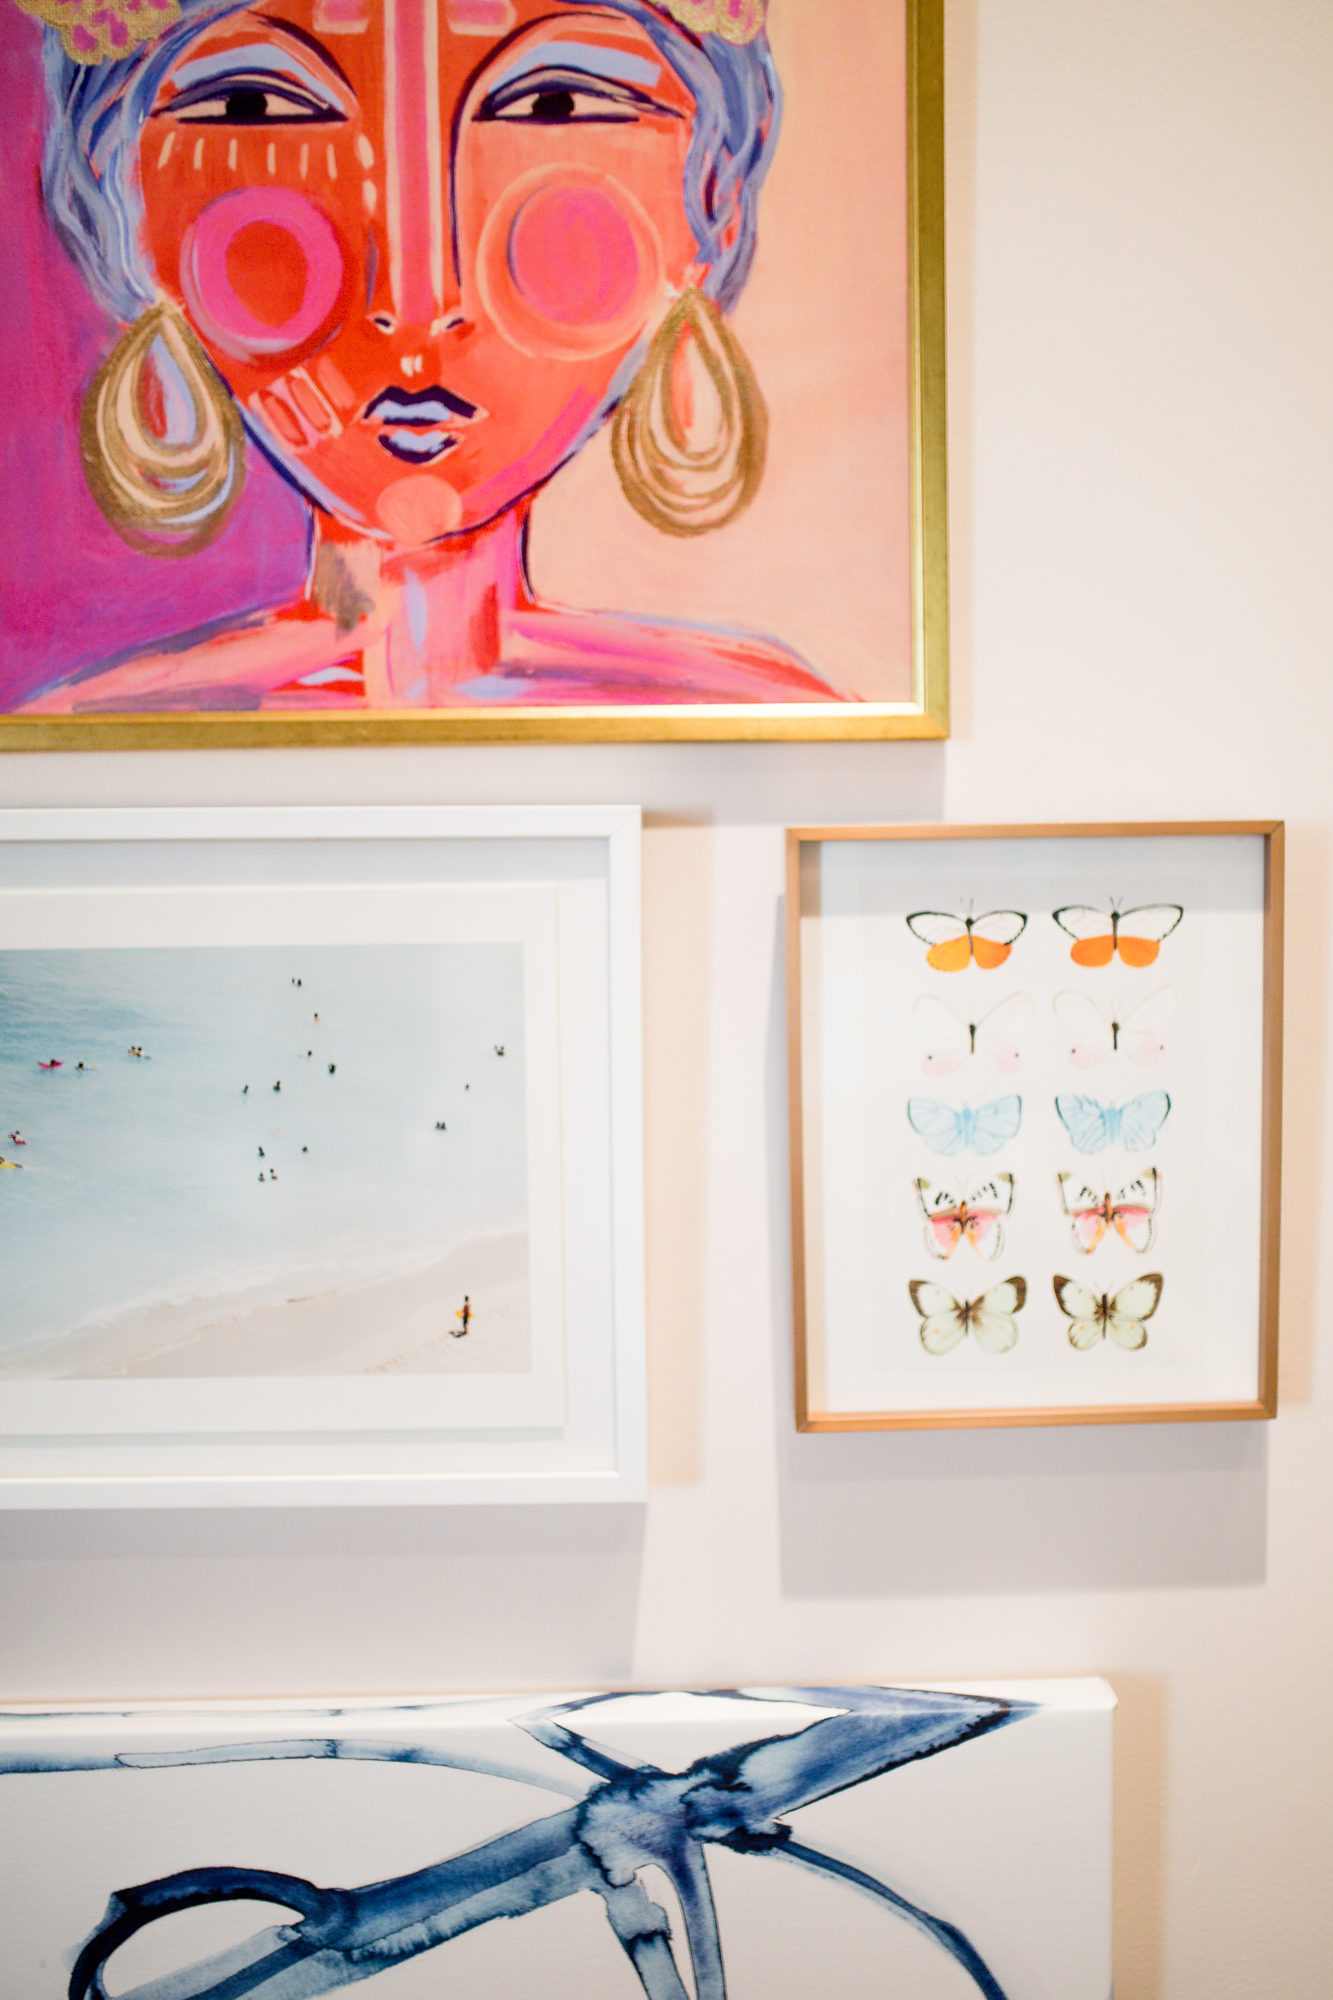
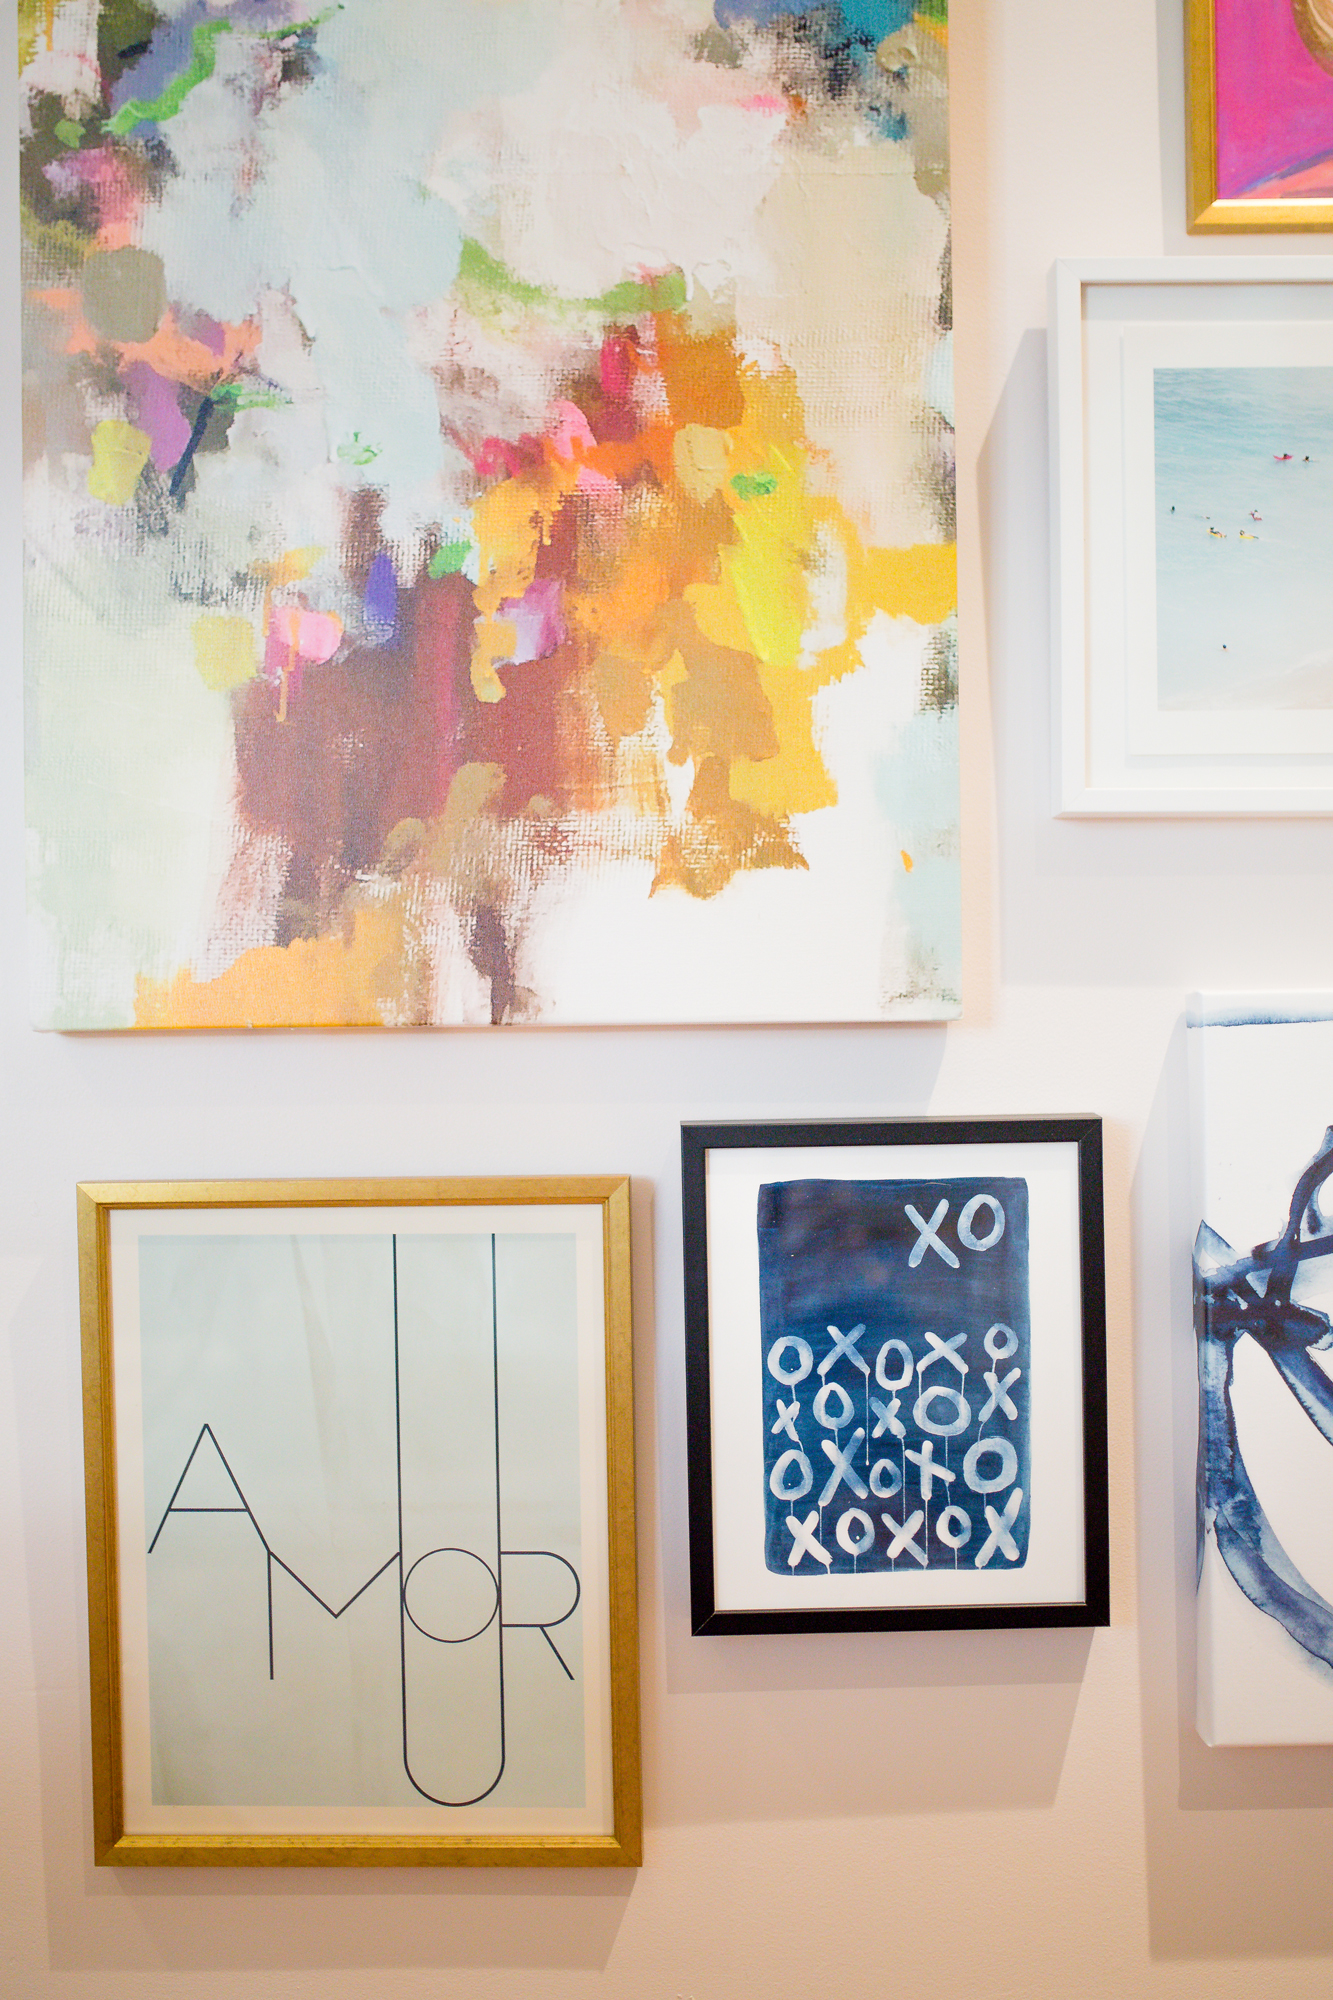
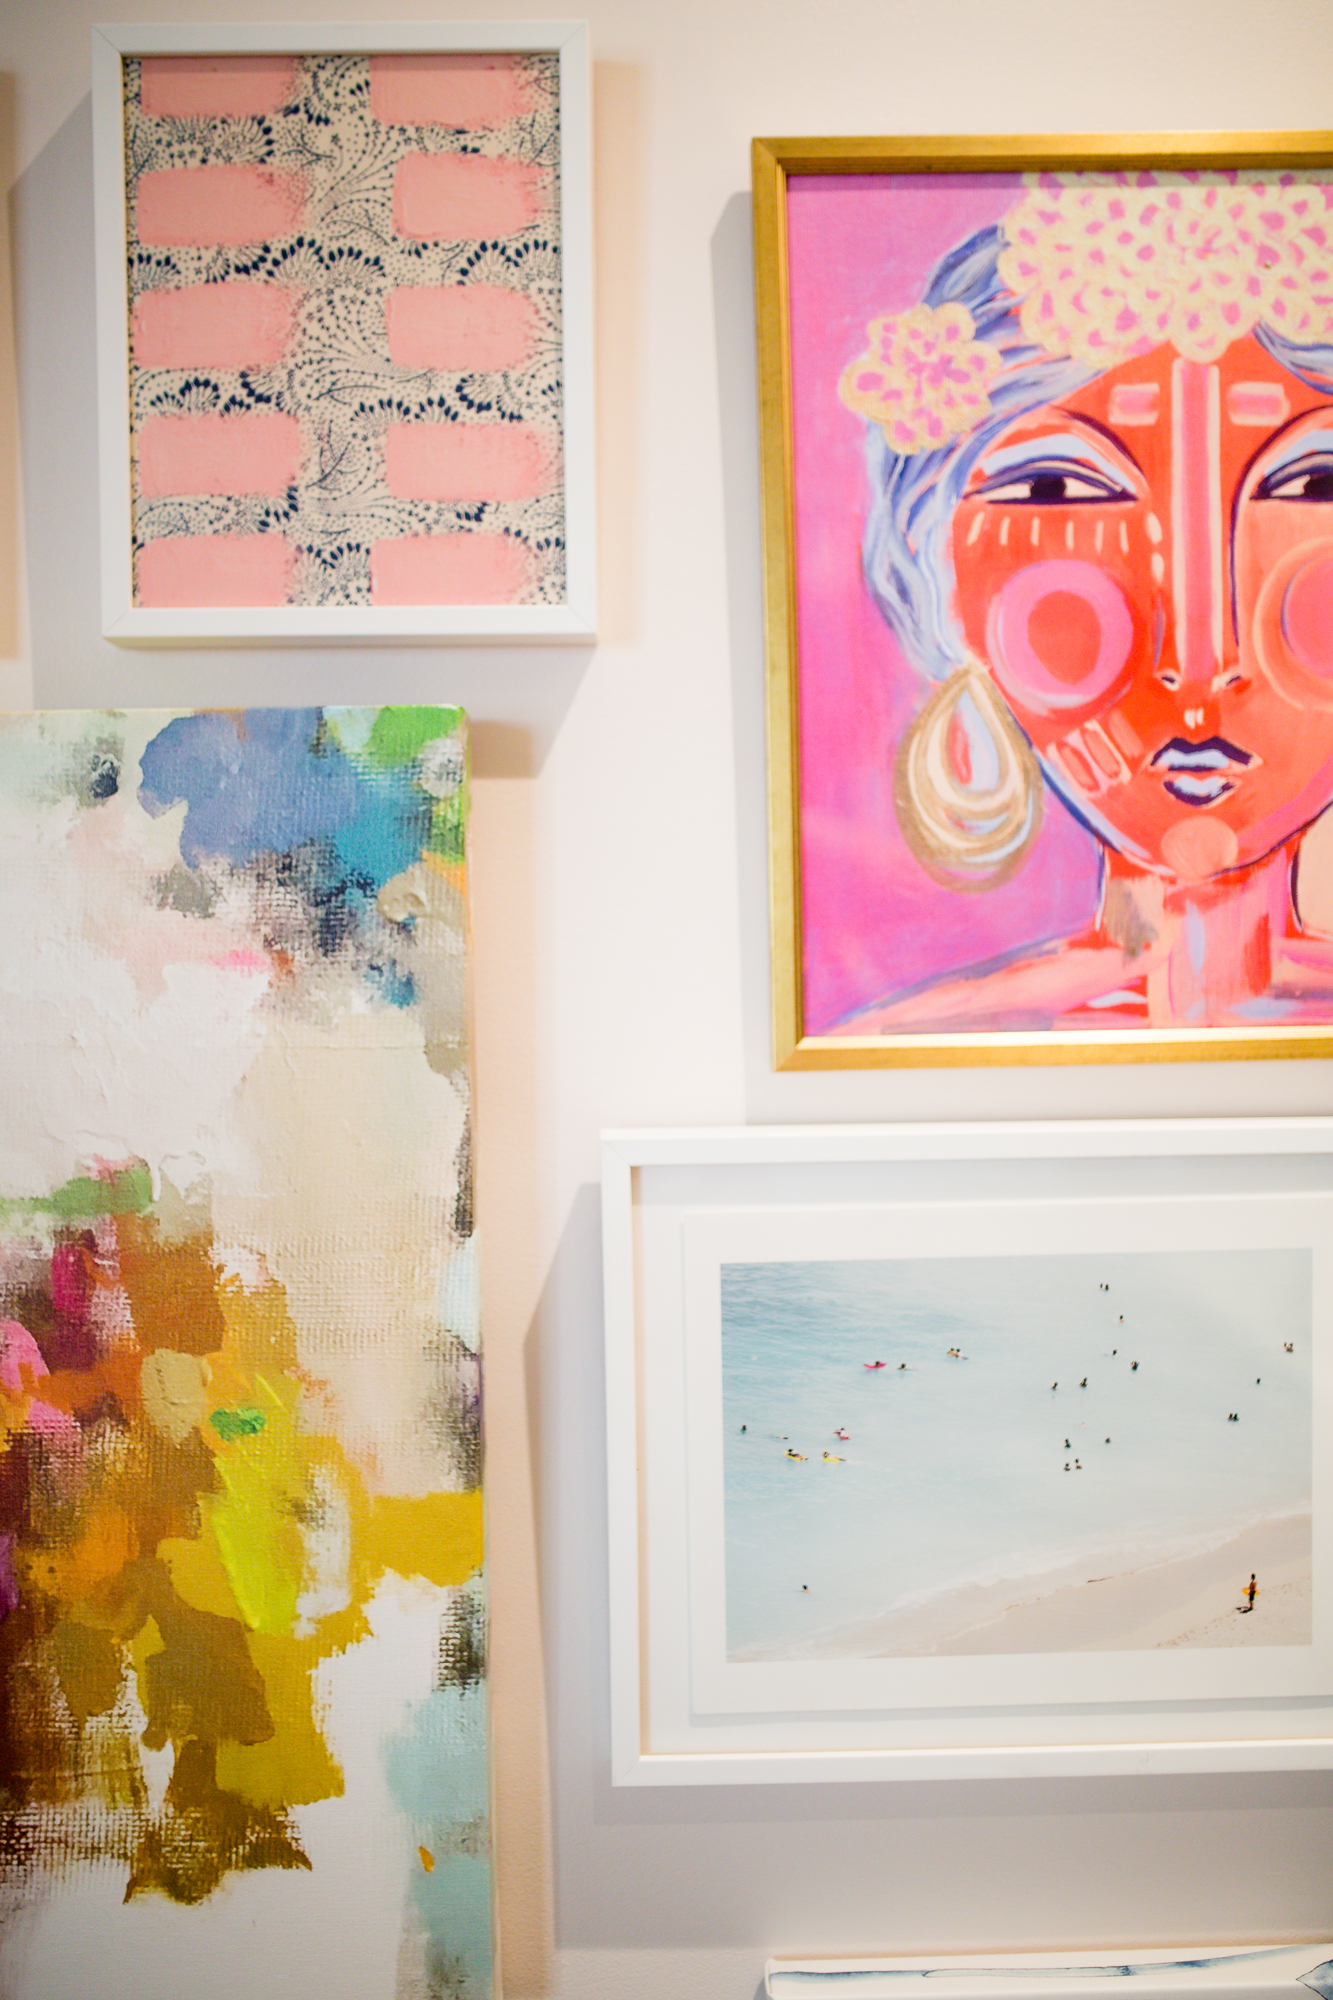
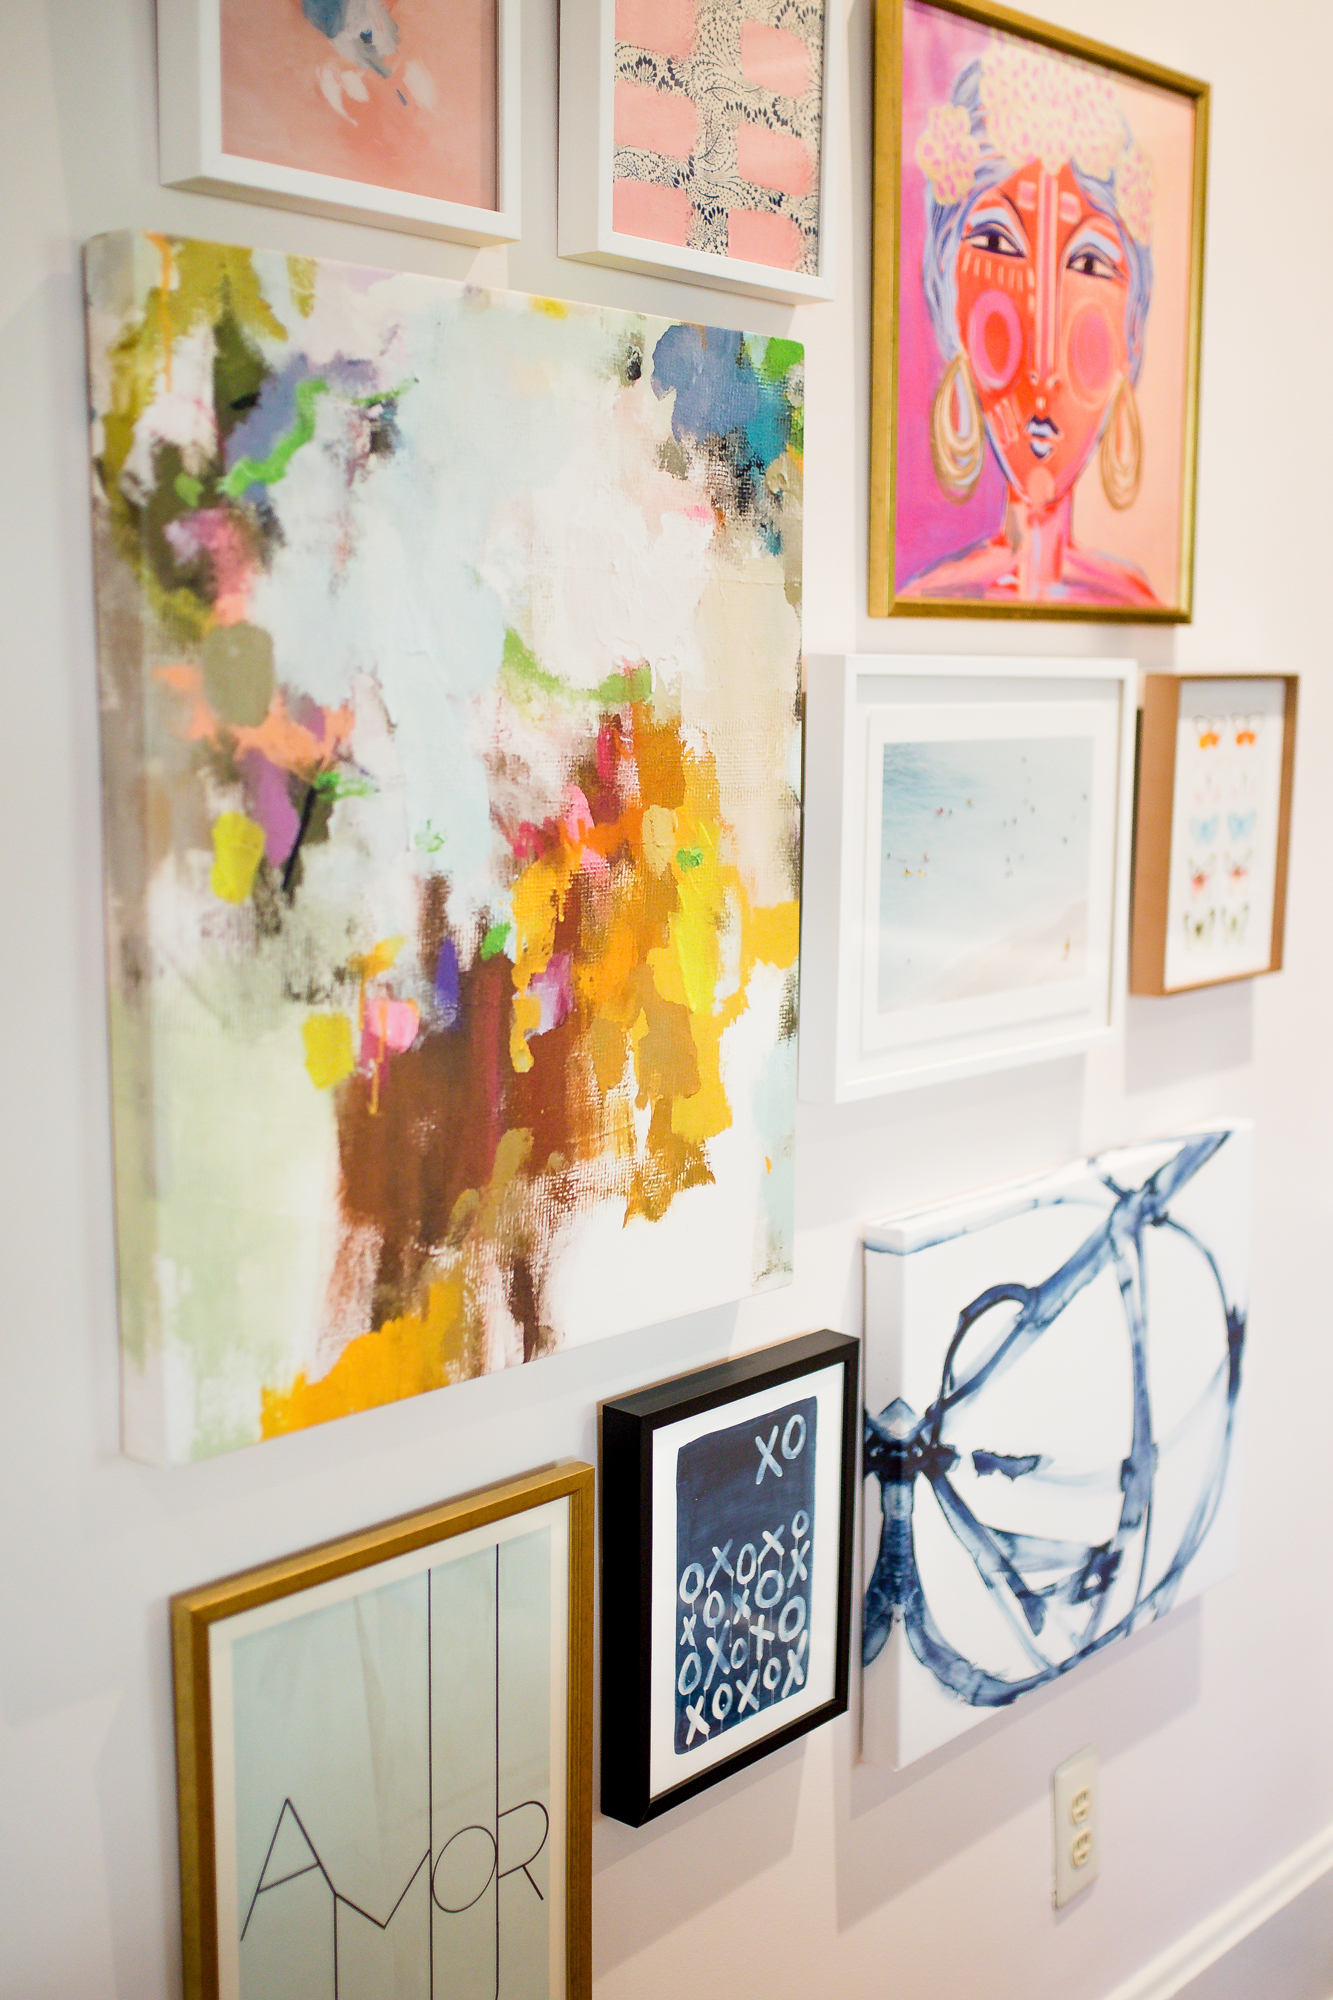
My office is nearly complete now that my feminine colorful gallery wall is hung! Today I’m sharing how I created the wall from start to finish.
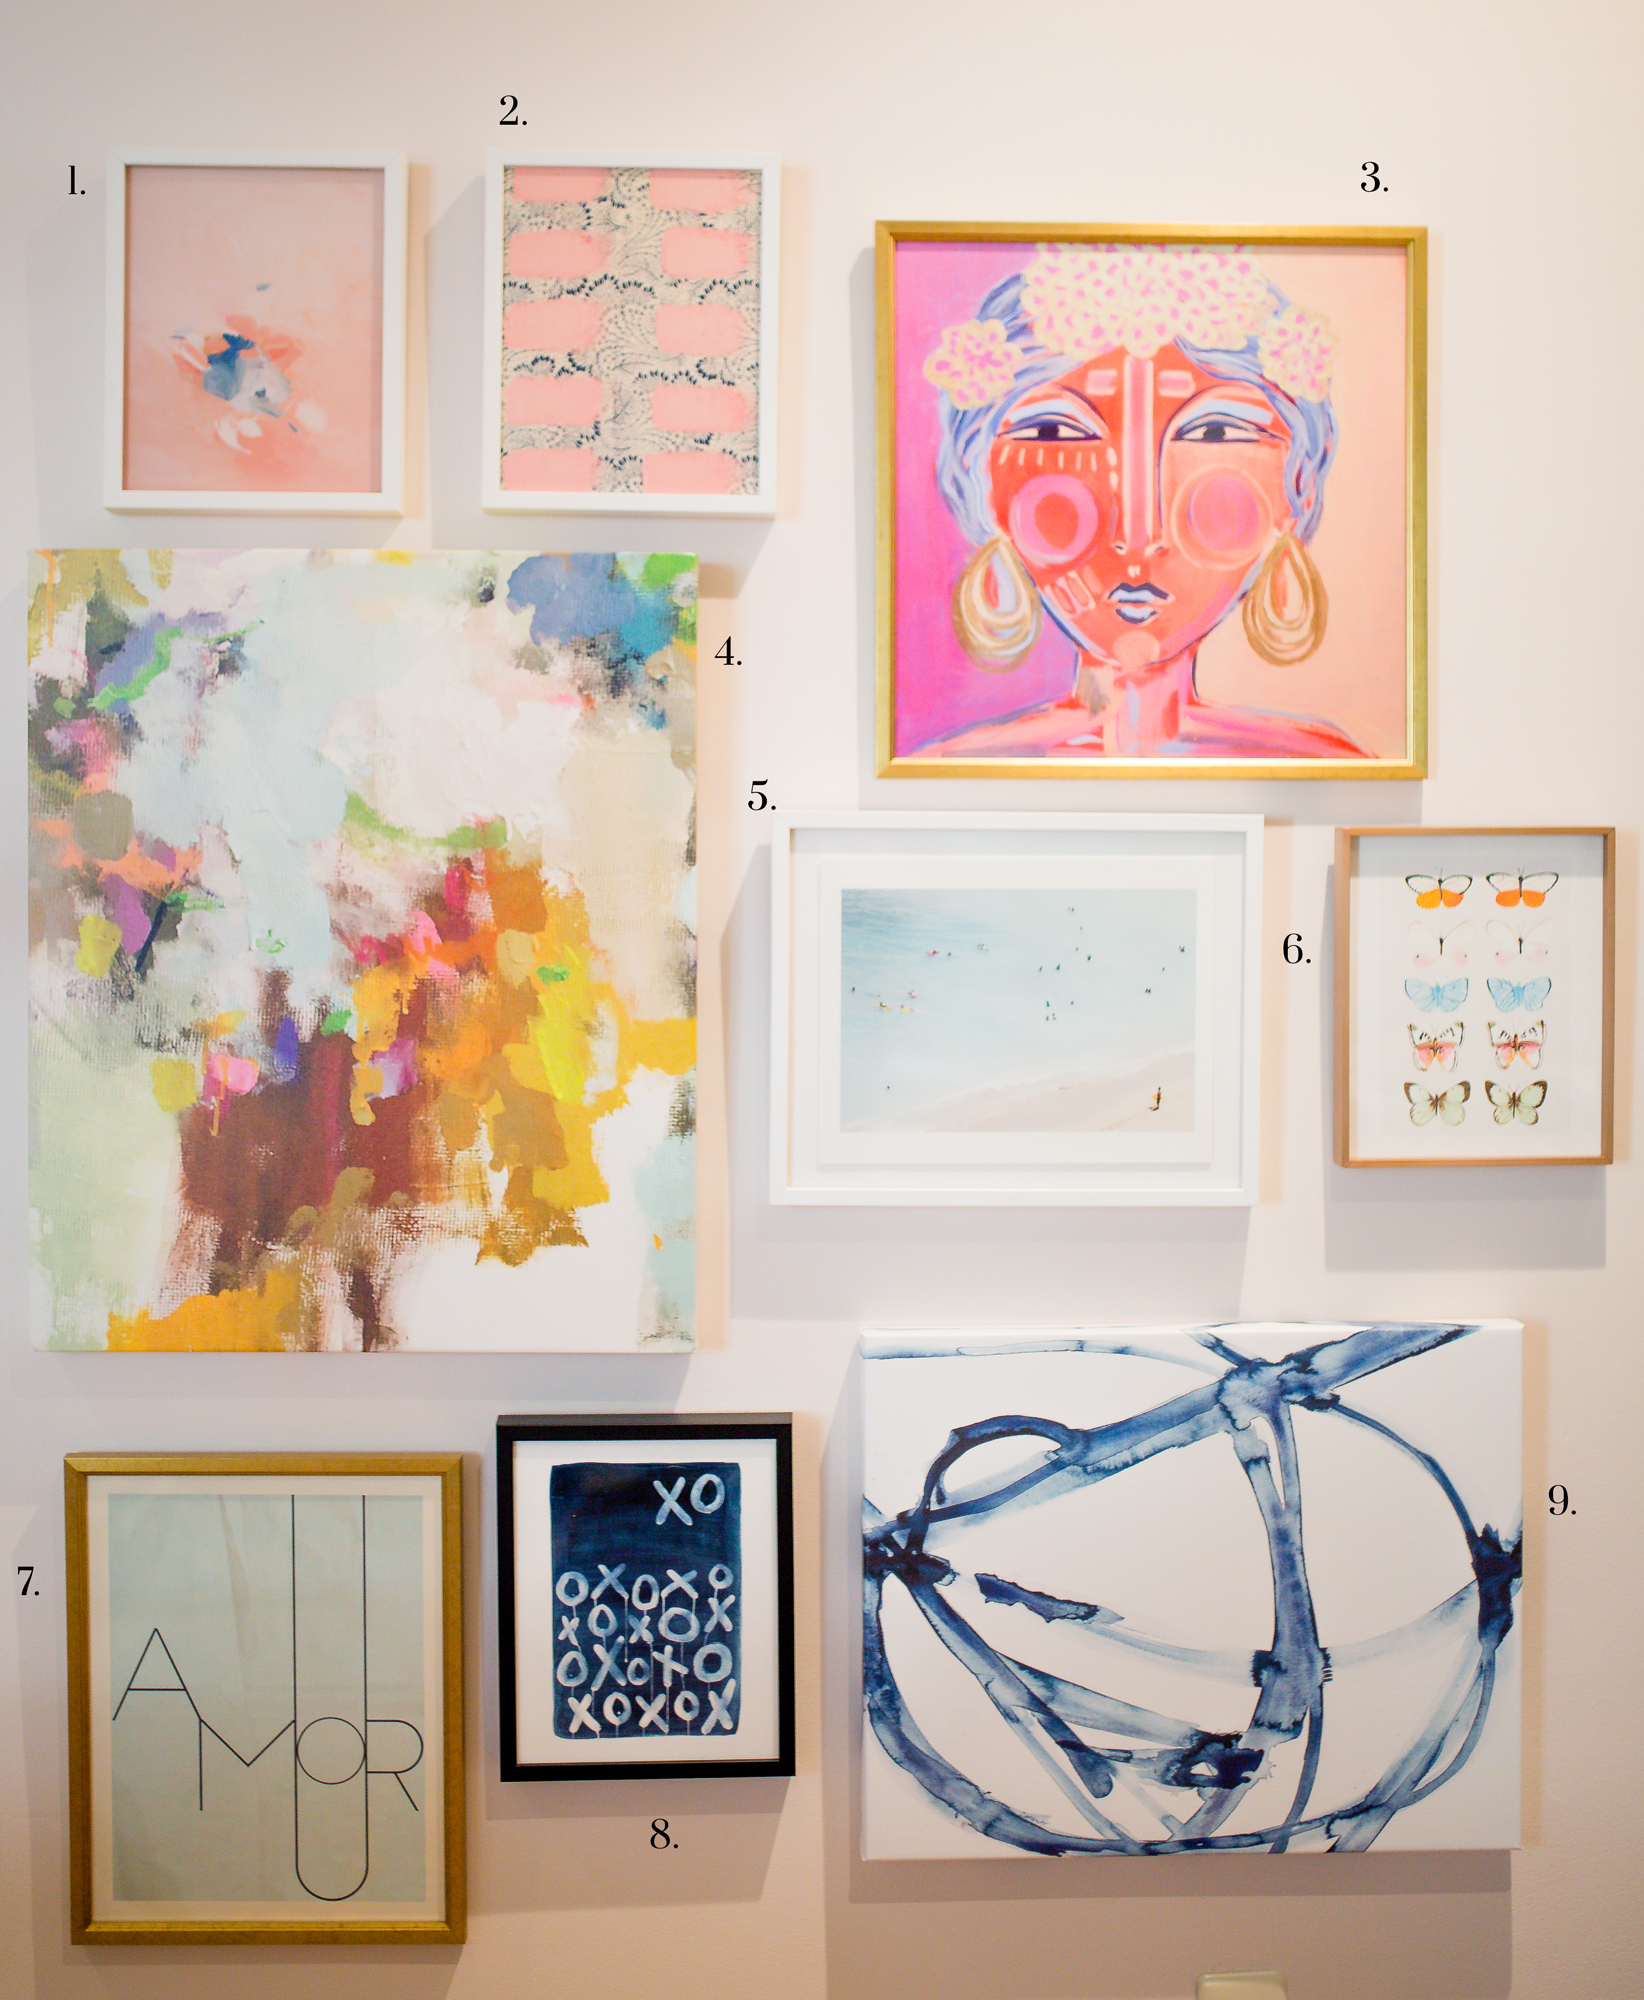
1 / 2 / 3 / 4 / 5 / 6 / 7 / 8 / 9 *
Happy Friday y’all! I hope everyone had an amazing week! I can’t really complain, but I will say I am beyond ready for the weekend! Keeneland officially kicks off & I have a date with the Mister. Tyler & I have had a crazy busy month, so we’re taking a well overdue night to ourselves.
But let’s chat all about gallery walls shall we?! My office has been a labor of love y’all. From stripping wallpaper, to painting, etc., it has been a process. Once the room was painted I was finally able to see a vision. (See my premature vision here!) But there was one blank wall that I knew I wanted to fill with a gallery wall. I wanted it to make a statement, to be fun, colorful & feminine. I’ll be honest though I wasn’t quite sure where to start.
After doing a little research, pulling pieces & putting this gallery wall together I’ve combined a few tips I thought I would share.
My Tips for Creating a Gallery Wall:
- Do a little product research (aka SHOPPING 😂) so you can get an idea of what you like and what you don’t like. This helped me realize I wanted a mix & match of styles of art.
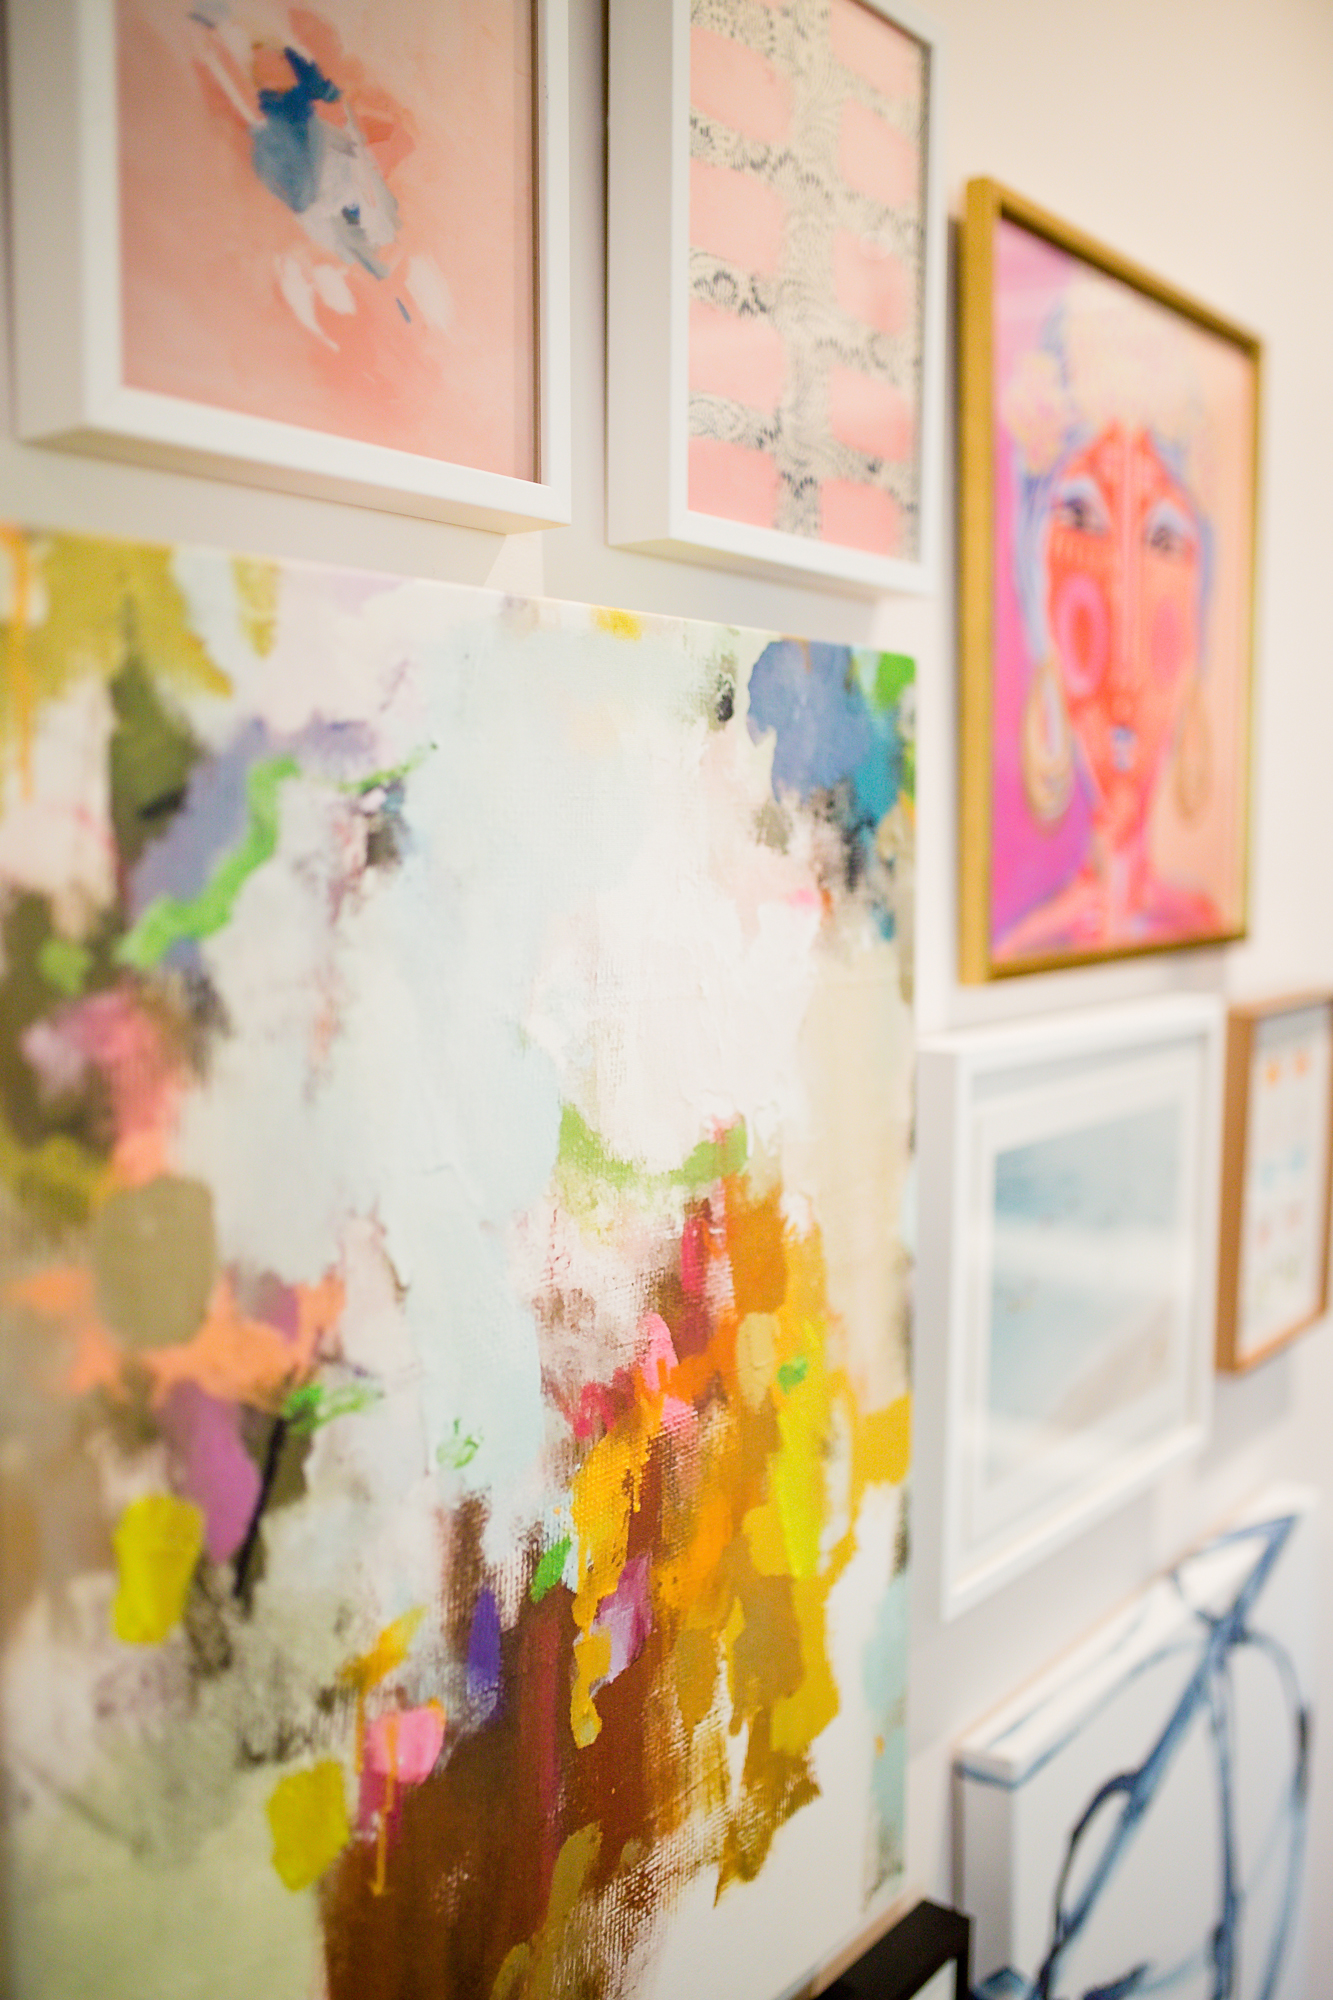
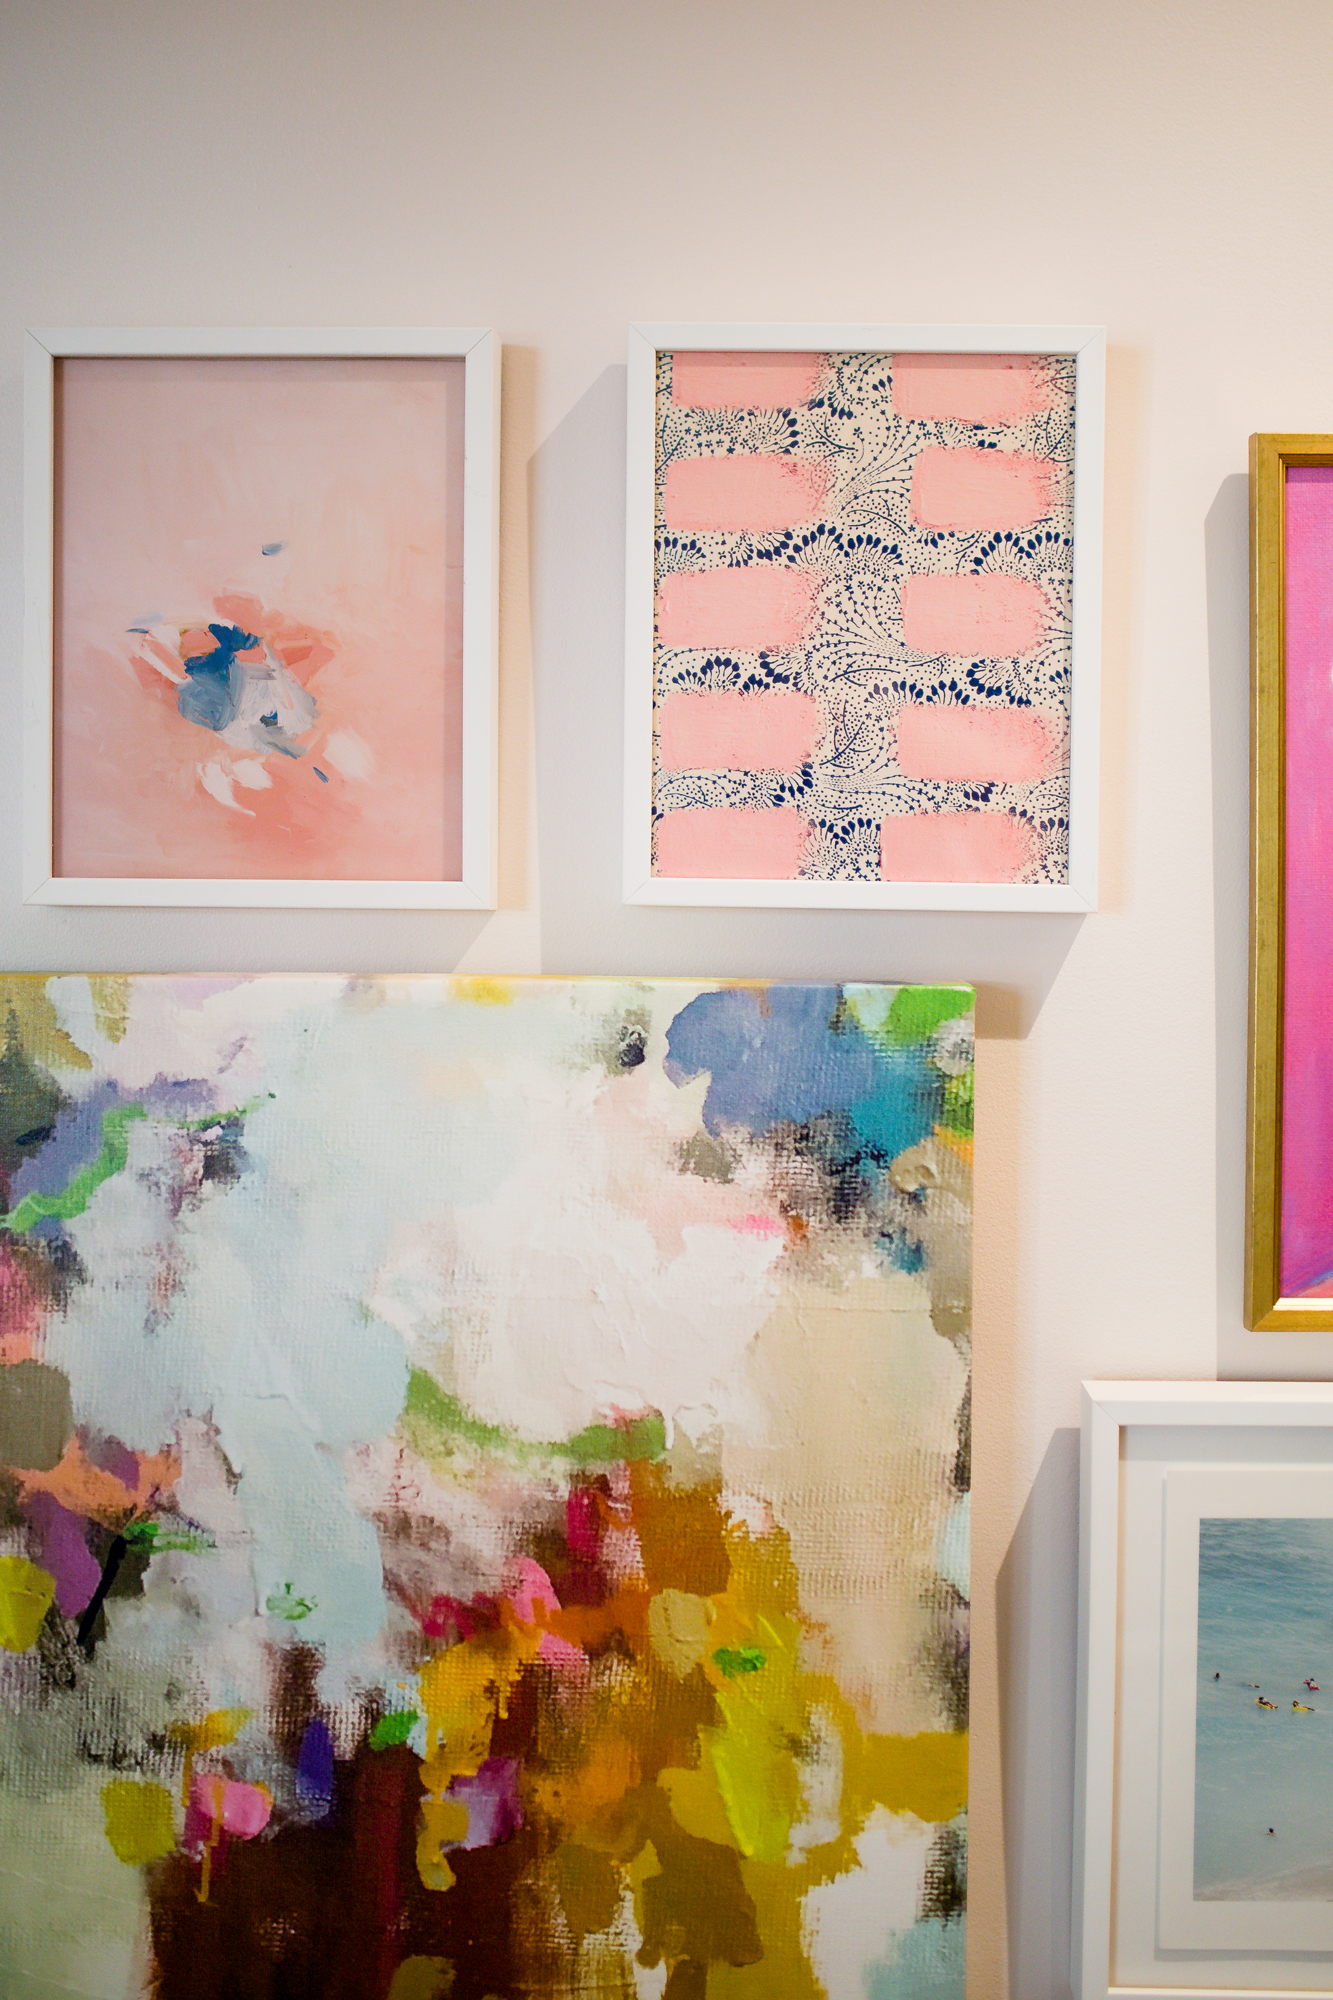
- Pick one statement piece to work around. For me, this Laura Park Design canvas was my statement piece. Once I chose it, every other piece I picked had to work well with it.
- Create a vision board to make sure all of the pieces work well together. Take screenshots of the pieces you like! Once I had screenshots I put them all together on a blank document of sorts. I used photoshop, but I am sure Canva or PicMonkey would work just fine! This allows you to see all of the pieces in one place, and made it easy to form the order & layout of the pieces. This also helps when ordering different sizes of different prints.
- Take measurements! You’ll want to fill your space to your preference, and this will ensure you order sizes accordingly. For me, I wanted a less symmetrical, but closely formed group that took up most of the wall.
- Mock up your gallery wall. This was a tip so many gals sent to me on Instagram and it was so helpful. I am sure there are tutorials on Pinterest, but the short version:: once you receive your art, use wrapping paper or something like it to trace out the pieces of art. Tape them to the wall in their rightful positions.
- Hammer away. Some suggested command strips, which would also be easy, but I didn’t have any around the house.
And there you have it! I’m no DIY blogger, but these were the steps I followed so hopefully they will be helpful to you if you’re looking to create a gallery wall for yourself.
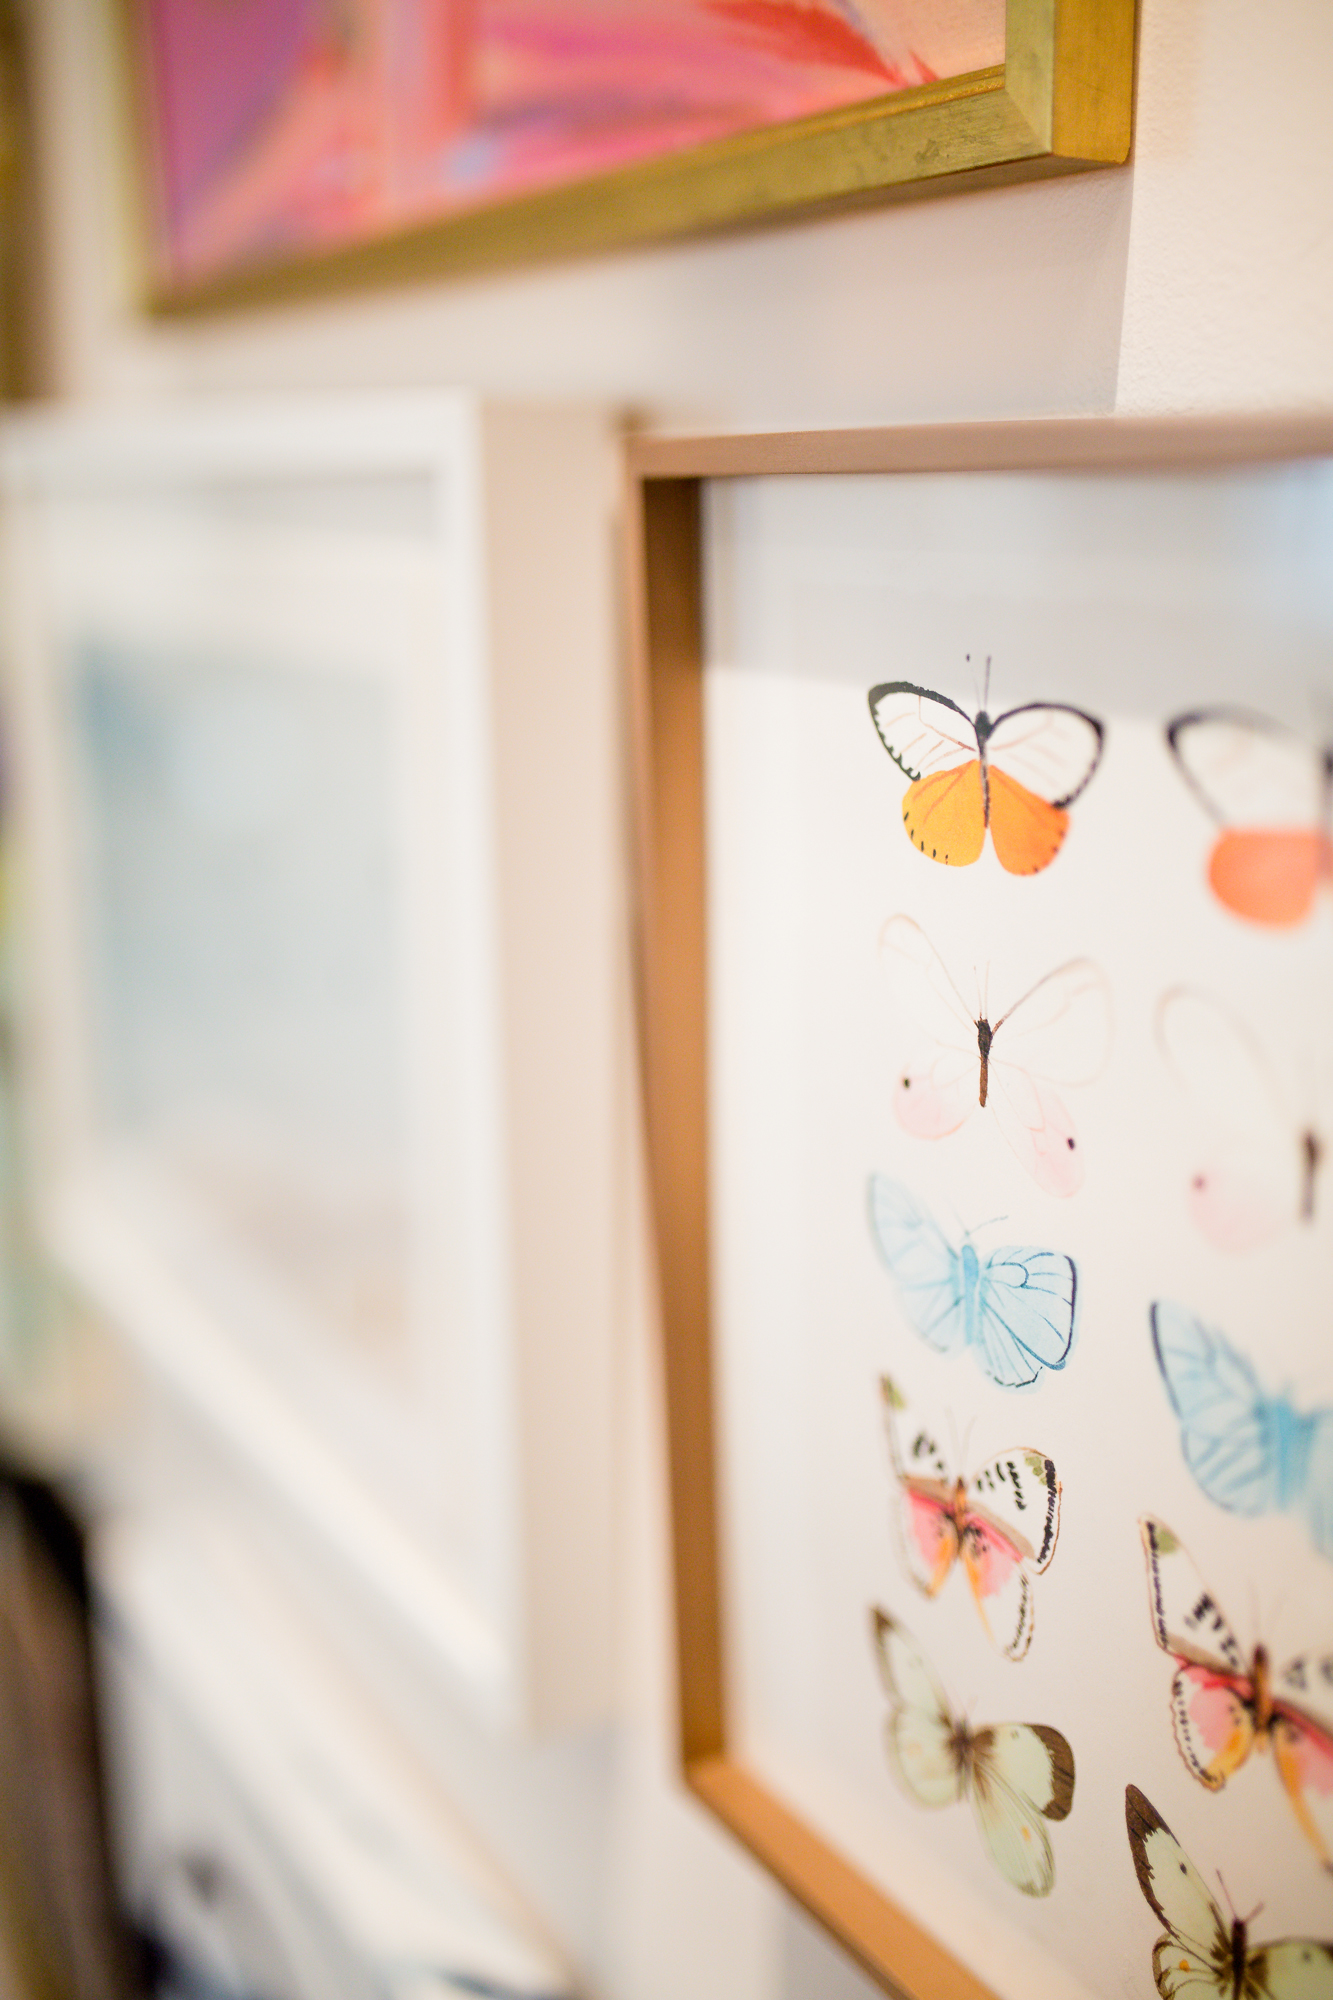
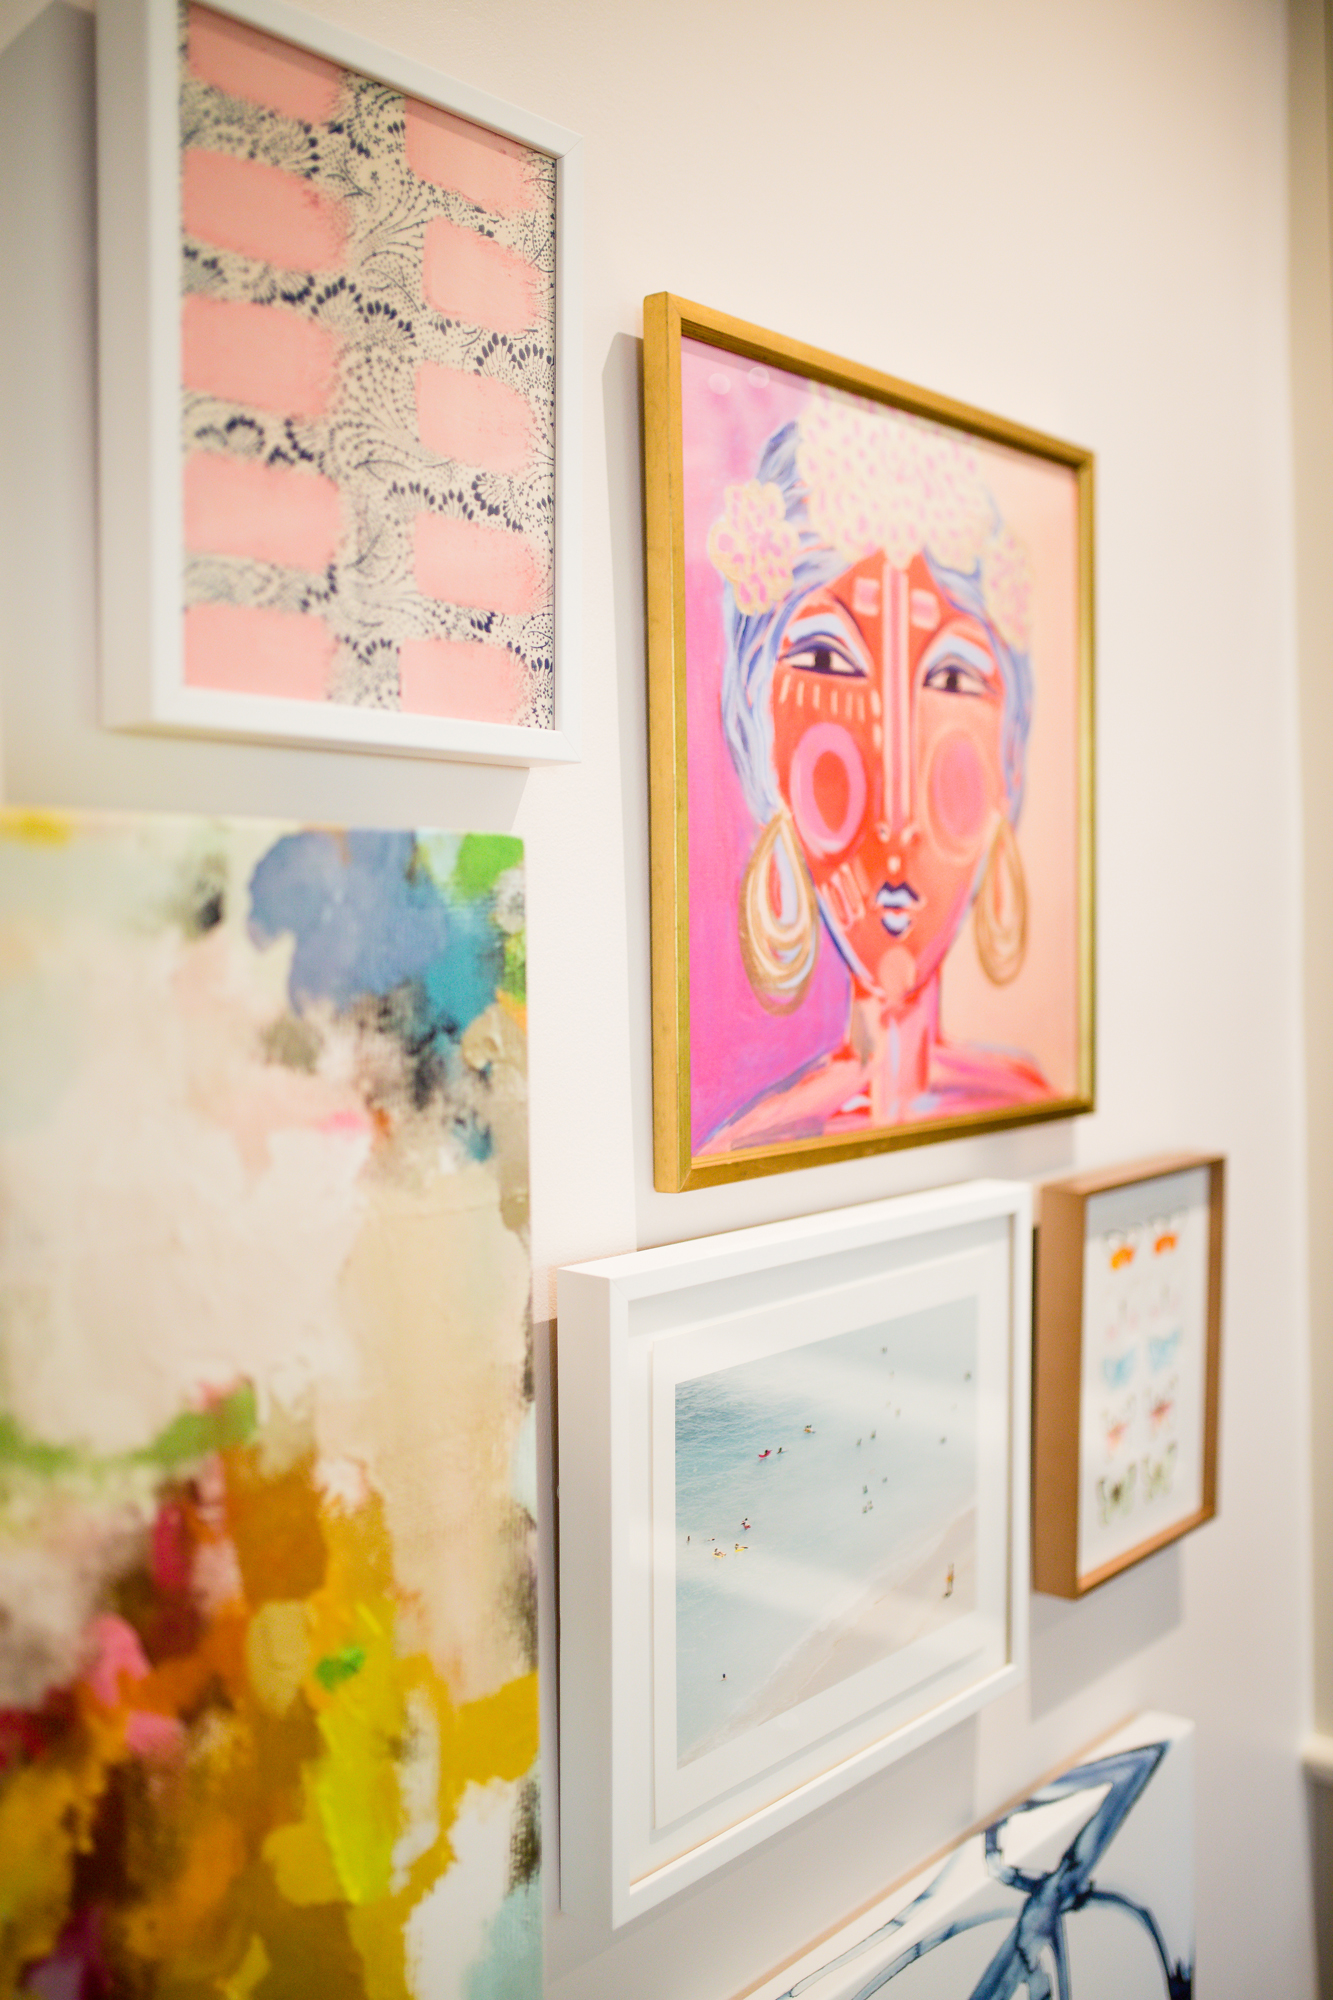
*All artwork was gifted to G&G



I literally couldn’t be more obsessed with #3 – it is so beyond fabulous lady!
xo Laura Leigh
Louella Reese
Wow! Your gallery wall is giving me some serious inspiration for my own office 🙂
Xo Amanda | Affordable by Amanda